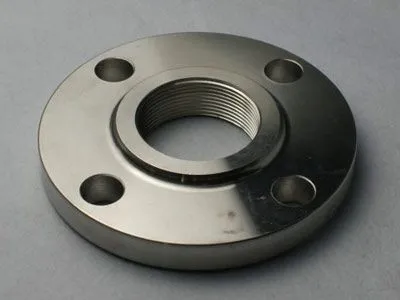
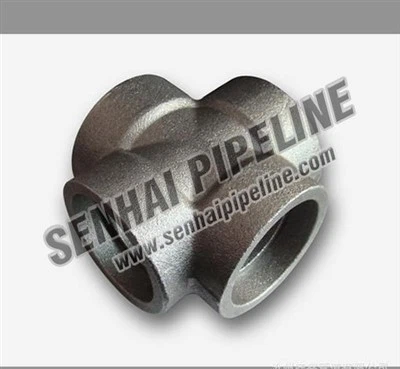
As a trusted supplier of Forged Couplings, I often receive inquiries from customers about the installation process. In this blog post, I'll share a comprehensive guide on how to install a forged coupling, which is a crucial component in many piping systems.

Understanding Forged Couplings
Before we dive into the installation process, let's briefly understand what Forged Couplings are. Forged couplings are used to connect two pipes or tubes together. They are made through a forging process, which involves shaping metal using localized compressive forces. This results in a strong and durable coupling that can withstand high pressures and harsh environments.

Tools and Materials Required
To install a forged coupling, you'll need the following tools and materials:
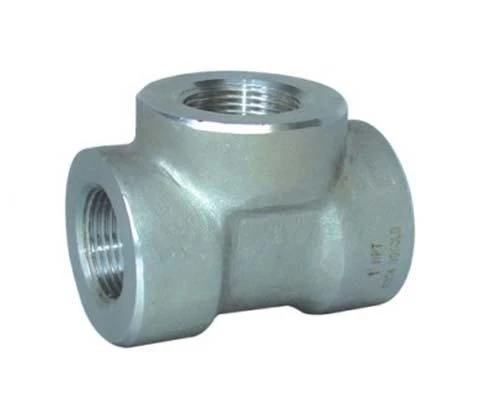
- Forged coupling: Ensure that the coupling is the correct size and material for your piping system.
- Pipes or tubes: Make sure they are clean, straight, and free from any damage.
- Welding equipment (if required): Depending on the type of coupling, you may need to weld it to the pipes.
- Pipe cutter: To cut the pipes to the appropriate length.
- Pipe threader (if applicable): If the coupling has threaded connections.
- Sealant: To prevent leaks at the joints.
- Wrenches: To tighten the coupling securely.
Step-by-Step Installation Process
Step 1: Prepare the Pipes
- Measure and Cut: Use a pipe cutter to measure and cut the pipes to the desired length. Make sure the cuts are clean and perpendicular to the pipe axis.
- Deburr the Pipes: After cutting, use a deburring tool to remove any sharp edges or burrs from the ends of the pipes. This will prevent damage to the coupling and ensure a proper fit.
- Clean the Pipes: Thoroughly clean the pipes using a wire brush or a suitable cleaning agent to remove any dirt, rust, or debris. This will help the coupling to make a tight seal.
Step 2: Inspect the Forged Coupling
- Check for Damage: Before installation, carefully inspect the forged coupling for any signs of damage, such as cracks, dents, or corrosion. If you find any damage, do not use the coupling and contact your supplier for a replacement.
- Verify the Size: Make sure the coupling is the correct size for your pipes. Check the inner diameter and outer diameter of the coupling to ensure a proper fit.
Step 3: Apply Sealant (if required)
- Threaded Couplings: If the coupling has threaded connections, apply a suitable sealant to the threads. This will help to prevent leaks and ensure a tight seal.
- Welded Couplings: For welded couplings, you may not need to apply sealant, but it's always a good idea to check the manufacturer's instructions.
Step 4: Connect the Coupling to the Pipes
- Threaded Couplings: If the coupling has threaded connections, carefully thread the coupling onto one of the pipes. Use a wrench to tighten the coupling securely, but be careful not to over-tighten it, as this can damage the threads.
- Welded Couplings: For welded couplings, align the coupling with the pipes and tack weld it in place. Then, proceed with the full welding process according to the welding specifications.
- Socket Welded Couplings: For socket welded couplings, insert the pipes into the socket of the coupling and weld them together. Make sure the weld is uniform and free from any defects.
Step 5: Check the Alignment
- Visual Inspection: After connecting the coupling to the pipes, visually inspect the alignment to ensure that the pipes are straight and the coupling is properly seated.
- Measure the Alignment: You can also use a measuring tool to check the alignment of the pipes. The pipes should be aligned within the specified tolerance to ensure proper operation.
Step 6: Tighten the Coupling
- Threaded Couplings: If the coupling has threaded connections, use a wrench to tighten the coupling further until it is snug. Make sure to follow the manufacturer's recommended torque specifications.
- Welded Couplings: For welded couplings, the coupling is already secured by the weld. However, you may need to check the weld for any signs of cracking or porosity and repair it if necessary.
Step 7: Test the Connection
- Pressure Test: After installing the forged coupling, it's important to perform a pressure test to check for leaks. Apply pressure to the piping system and monitor the connection for any signs of leakage.
- Visual Inspection: Inspect the connection visually for any signs of damage or deformation. If you find any problems, immediately shut down the system and repair the connection.
Common Mistakes to Avoid
- Using the Wrong Size Coupling: Make sure to use the correct size coupling for your pipes. Using the wrong size coupling can result in leaks and other problems.
- Over-tightening the Coupling: Over-tightening the coupling can damage the threads or the coupling itself. Follow the manufacturer's recommended torque specifications.
- Not Cleaning the Pipes Properly: Dirty or rusty pipes can prevent the coupling from making a tight seal. Make sure to clean the pipes thoroughly before installation.
- Poor Welding Technique: If you are welding the coupling, make sure to use the correct welding technique and follow the welding specifications. Poor welding can result in weak joints and leaks.
Additional Considerations
- Compatibility: Make sure the forged coupling is compatible with the pipes and the fluid or gas that will be flowing through the system. Different materials have different chemical and physical properties, so it's important to choose the right coupling for your application.
- Maintenance: Regular maintenance is important to ensure the long-term performance of the forged coupling. Inspect the coupling periodically for any signs of damage or wear and replace it if necessary.
- Safety: When installing the forged coupling, make sure to follow all safety procedures. Wear appropriate protective equipment, such as gloves and safety glasses, and use the tools correctly.
Conclusion
Installing a forged coupling is a relatively straightforward process, but it requires careful attention to detail to ensure a proper and leak-free connection. By following the steps outlined in this blog post and avoiding common mistakes, you can install a forged coupling with confidence. If you have any questions or need further assistance, please don't hesitate to contact us. We are a leading supplier of Forged Couplings, Socket Welded Equal Tee, Hexagonal Caps, and other forged fittings, and we are committed to providing high-quality products and excellent customer service. Whether you are a professional installer or a DIY enthusiast, we can help you find the right fittings for your project. Contact us today to discuss your requirements and start the procurement process.

References
- ASME B16.11: Forged Fittings, Socket-Welding and Threaded
- ASTM A105/A105M: Standard Specification for Carbon Steel Forgings for Piping Applications
- API 6A: Specification for Wellhead and Christmas Tree Equipment