Installing swage nipples in tight spaces can be a real headache, but it's definitely doable with the right approach. As a Swage Nipples supplier, I've seen firsthand the challenges that come with this task. In this blog, I'll share some tips and tricks on how to install swage nipples in those hard - to - reach areas.
Understanding Swage Nipples
First off, let's quickly go over what swage nipples are. Swage nipples are pipe fittings that are used to connect pipes of different sizes. They have one end with a larger diameter and the other with a smaller diameter. You can check out more about them on our Swage Nipples page. These fittings are commonly used in plumbing, industrial piping systems, and even in some DIY projects.
Pre - installation Preparation
Before you start the installation process, you need to do some prep work. This is crucial, especially when dealing with tight spaces.
Measure Twice, Cut Once
Measure the space where you'll be installing the swage nipple. You need to know the exact dimensions to ensure a proper fit. Make sure to account for any bends, curves, or obstacles in the area. Also, measure the pipes that you'll be connecting. This will help you choose the right size of swage nipple.
Gather Your Tools
You'll need a few essential tools for this job. A pipe cutter is a must - have if you need to cut the pipes to the right length. A pipe wrench will come in handy for tightening the swage nipple onto the pipes. You might also need a file to smooth out any rough edges on the pipes after cutting. And don't forget some thread seal tape. This will help prevent leaks when you connect the fittings.
Techniques for Installing in Tight Spaces
Now, let's get into the actual installation process.
Access the Space
If the space is really tight, you might need to remove some obstacles to get better access. This could mean taking out a panel, moving some equipment, or even disassembling a small part of the piping system. Just make sure you know how to put everything back together properly.
Use the Right Fitting Orientation
When installing the swage nipple, pay attention to the orientation. The larger end should be connected to the larger pipe, and the smaller end to the smaller pipe. This might seem obvious, but it's easy to get it wrong in a tight space where visibility is limited.

Angle Your Tools
In tight spaces, you won't always be able to use your tools at a straight angle. You'll need to get creative and find the best angle to use your pipe wrench or other tools. Sometimes, you might need to use a smaller or more flexible wrench to reach the fitting.
Work in Sections
If the space is extremely tight, you might not be able to install the swage nipple all at once. In this case, you can work in sections. Connect one end of the swage nipple to the pipe first, and then work on the other end. This can make the process a lot easier, especially if there's limited room to maneuver.
Dealing with Obstacles
There are bound to be some obstacles when working in tight spaces. Here's how to handle them.
Bends and Curves
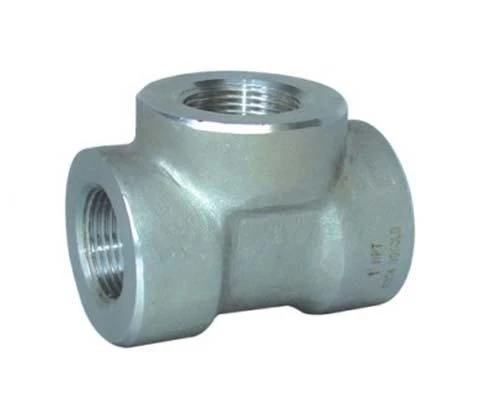
If there are bends or curves in the piping system, you might need to use additional fittings like Socket Welded Equal Tee or Union. These can help you navigate around the curves and connect the pipes properly. Just make sure to choose the right type and size of fitting for your needs.
Limited Reach
When you have limited reach, you can use extension tools. There are pipe wrenches with extendable handles that can help you reach fittings that are further away. You can also use a mirror to see what you're doing in hard - to - see areas.
Safety First
Safety should always be your top priority when working on any piping project.
Wear Protective Gear
Wear safety glasses to protect your eyes from any flying debris when cutting or filing the pipes. Gloves will protect your hands from sharp edges and chemicals. And if you're working in an area with poor ventilation, consider wearing a respirator.
Check for Leaks
Once you've installed the swage nipple, turn on the water or whatever fluid will be flowing through the pipes. Check for any leaks around the fitting. If you notice a leak, turn off the flow immediately and tighten the fitting or add more thread seal tape.
Post - installation Checks
After the installation is complete, do a final check.
Inspect the Fitting
Make sure the swage nipple is securely tightened onto the pipes. Check for any signs of damage or wear on the fitting. If you find any issues, address them right away.
Test the System
Run the system for a while to make sure everything is working properly. Monitor the pressure and flow of the fluid in the pipes. If you notice any changes or problems, investigate and fix them.
Conclusion
Installing swage nipples in tight spaces is challenging, but with the right preparation, tools, and techniques, you can get the job done. Remember to measure carefully, use the right tools, and take your time. And if you ever need more information or have any questions about our swage nipples or other fittings, feel free to reach out to us. We're here to help you with all your piping needs. Whether you're a professional plumber or a DIY enthusiast, we can provide you with high - quality swage nipples and expert advice. So, don't hesitate to contact us for any procurement and negotiation needs.
References
- Pipe Fitting Handbook
- Plumbing Installation Guide